How to Take a Good Photo
Hiii!
When I started eating healthy and working out consistently 4 years ago, my Instagram was my personal page and I was just sharing recipes and progress with my friends. I have always been a creative person, but at the time, I wasn't doing anything to fulfill that itch in me.
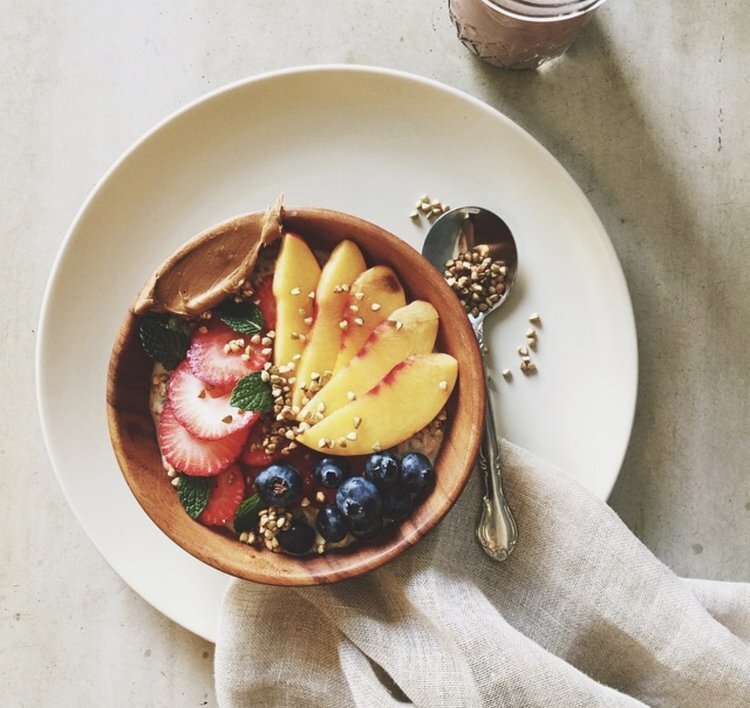
That's when I started making healthy and aesthetically pleasing breakfast bowls and took pics to share. I had no idea that what I was doing at the time was going to turn into what it is today- but that's a whole different story I can get into another day.
The 2 photos below were taken in 2015! I lived in a studio with the smallest kitchen so I literally took my bowls down the elevator to the lobby and used the small concrete bench there. I loved the texture of it and I miss it til this day.
It's crazy how much my feed has evolved over the years from food blogging to lifestyle blogging but I've learned a few tricks along the way on how to "get that shot" and today is all about that!
P.s If you haven't read my blog post on How I Edit My Photos, you can read ALL about that here. I wanted to write this post next because without the foundation of a good photo, no matter how much you edit... it's still going to be a mediocre one! It's the truth ; P
So let's get started!
Lighting
This is key!! I always 100% of the time take my photos in natural light by a window or outside. Low light and indoor lights are rarely going to cut it especially if your feed aesthetic is bright! If you shoot in low lighting and try and brighten it up in editing- it can only go so far because the photo starts to look grainy and low quality.
Also important- if you're inside and you're utlilizing natural light, be sure to turn off the lights inside so you're not getting a mix of colors (white and yellow) because that can throw off the photo as well.
My ideal shooting time is in the morning before noon. The best days to shoot are gloomy days because the light is very even. Mid day is tough because the shadows are super harsh on your face and it is not very flattering...examples below.
Examples:
Problem: Taken mid day but note that the tree I'm standing under is creating uneven lighting on me. Half my legs have disappeared, my body is super dark, and half my face is lit in an unflattering way... What I'm saying is WE CAN DO BETTER ; )
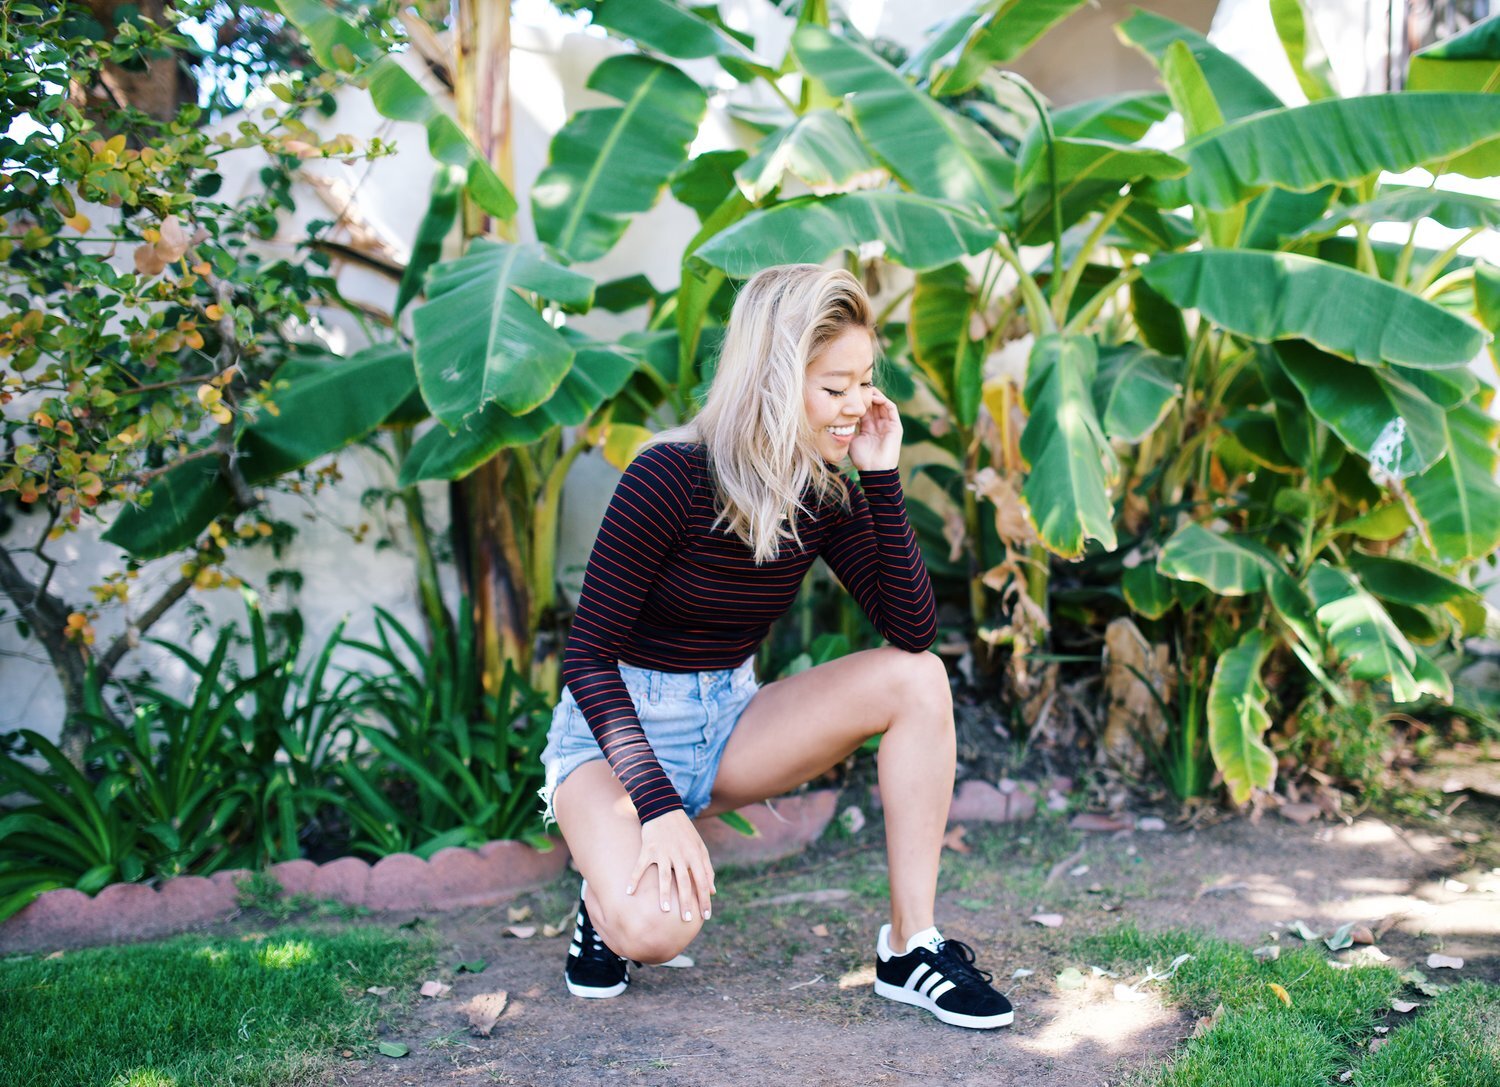
Alright this is much better! Taken exact same time of day but I found some shade!! Shade is your friend when it's super bright outside. Note that non of my body parts are missing and its a clear crisp photo.
Angles
As equally important to me as lighting is...ANGLES. I like to make sure the bottom of the phone screen (if taken on iPhone) lines up with a straight line in the photo...like the ground. You can also look for edges of buildings, rooftop lines, tables etc. If a photo isn't perfectly aligned, you can always edit this by using the "straighten" tool later but just something to note.
You guys know I'm very passionate about this one...HOW TO LOOK TALLER! My biggest tip is to have your photographer shoot you slightly upwards. Do this by tilting the top of your phone towards you or kneeling/squatting down to get an even more drastic effect. I've even asked very kindly for my photographer to shoot me laying on their stomach before... You get what I mean... lower the angle the taller you are. I like to think LESS pavement by the feet and MORE sky in the frame.
Examples:
Problem: Taken at a high angle. I know some people like this angle... but for me, I'm all about making my legs look long. I also think theres too much pavement in the picture vs the wall.. and what is that patch of green grass at the bottom?! Distracting...
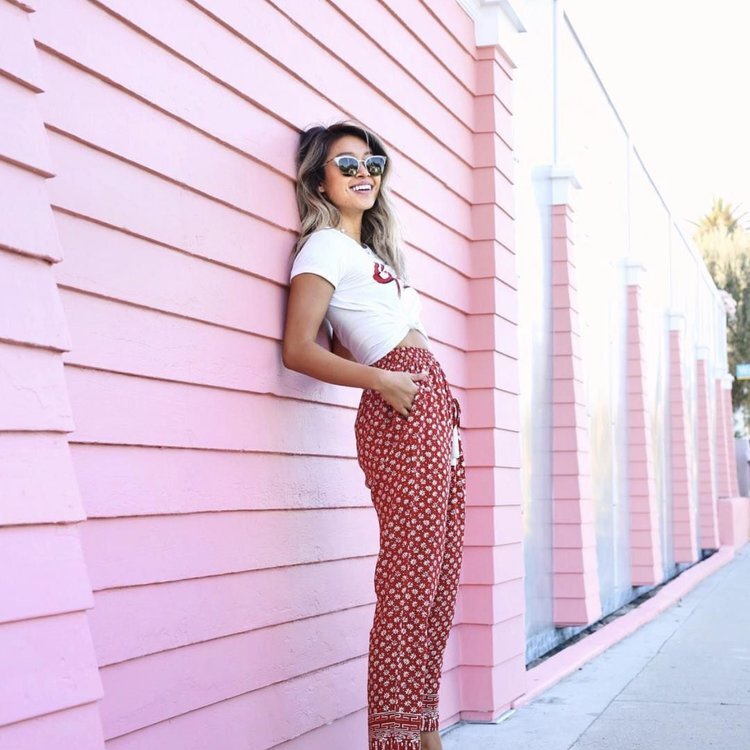
Ahh much better! Less floor...more wall taken at a low angle. Pretty sure I grew a foot because of it LOL
Poses
Posing can be awkward especially if you're not used to being in front of the camera. I find that holding props like a cup of tea or water bottle helps keep my hands busy. You could also be sipping your drink or stirring the straw- just think to yourself "what would I naturally be doing in this scene" and have your photographer shoot away.
My other go-to poses include leaning on the wall, turning to the side, looking over the shoulder, walking shots, laughing shots, playing with hair shots, flipping hair side to side, etc. The main idea is to keep moving every 2 seconds and have fun.
Examples:
Composition
Keep in mind everything that is in shot, be on the look out for garbage cans, random objects, outlets, or trees and lamp posts that look like they are coming out of your head. Either change your position or have your photographer change their angle.
You can get creative with the composition by framing yourself on the edge of the photo and having more negative space on one side or play with perspectives.
Examples:
This photo is great! However If I was going to be super knit picky I would ask my photographer to move over a little so the palm tree is not coming directly out of my head. It's sometimes more obvious that others but this was the only example I found that I could share!
Take 2!
Keeping it organic
This is huge for me! I hate "stock" looking photos or photos that don't tell a story or make sense. I enjoy the process of planning out photos (sponsored or not), making mood boards, brainstorming ideas etc. I take time doing this because I want my photos to portray more emotion!
My biggest tip to making a photo look like it is "in the moment" is to actually try and BE IN THE MOMENT and to of course HAVE FUN! Have your photographer take lots of photos of you in your morning routine and if your morning routine makes you FEEL GOOD, than I think that photo should portray that.
I love when a photo feels like there's movement too!
Alright guys!
All in all, the more you take photos the more all of this will just come naturally :)
As always, thank you sooo much for stopping by my blog and let me know if you have any questions at all!


