How to Prep For a Hike | Essentials Guide & Check list
Hey guys!
As you guys know, I’ve been on a hiking kick this year starting with the 4 day retreat I did at The Ranch 4.0 where I hiked all over Westlake and Malibu mountains, then just last month I climbed Mt Toubkal in Morocco which is the tallest mountain for 2 days and then most recently to Dunton Colorado!
These hikes ranged anywhere from 5-12 miles a day and this check list of hike essentials is for anyone who is new to hiking and wants to be prepared or for the experienced hiker. I probably fall in the middle of the spectrum but I love lists and ways to efficiently pack and prepare so I thought I’d write this blog post so we could refer to it at any point when prepping for the next outdoor adventure.
Typically I travel with my hiking backpack already packed inside my suitcase so it’s ready to go- and then everything extra in a packing cube . Not everything below needs to go into your hiking backpack but this is my essentials list that will cover you under all elements (the wind, heat, cold, rain, etc) and when you get to your destination you can assess what you can leave behind in your hotel/airbnb etc. So my suggestion is if you have room, pack the layers just in case!
Note that this packing list is for DAY HIKING only- not overnighting i.e. essentials you would hike with in a backpack. I also share PREVENTATIVE measures you can take on your feet and knees because blisters are the absolute worst.
OK let’s get started:
ESSENTIALS:
Backpack
Clothing & boots
underwear
sports bra
Toiletries
Accessories
Preventative
cut toe nails
can of oxygen if altitude sickness prone
FANNY PACK:
I highly recommend having a fanny pack for your immediate essentials that you need easy access to throughout the hike. For example, I put my lip balm, tissues (bc my nose always runs like crazy with the chilly winds), quick snack like nuts, and my phone in there. Otherwise you’re having to unstrap your chest strap or crank your hand in a weird way to get to the side pockets of your back pack and well, that’s annoying and slows you down.
HIKING BOOTS VS TRAIL RUNNERS:
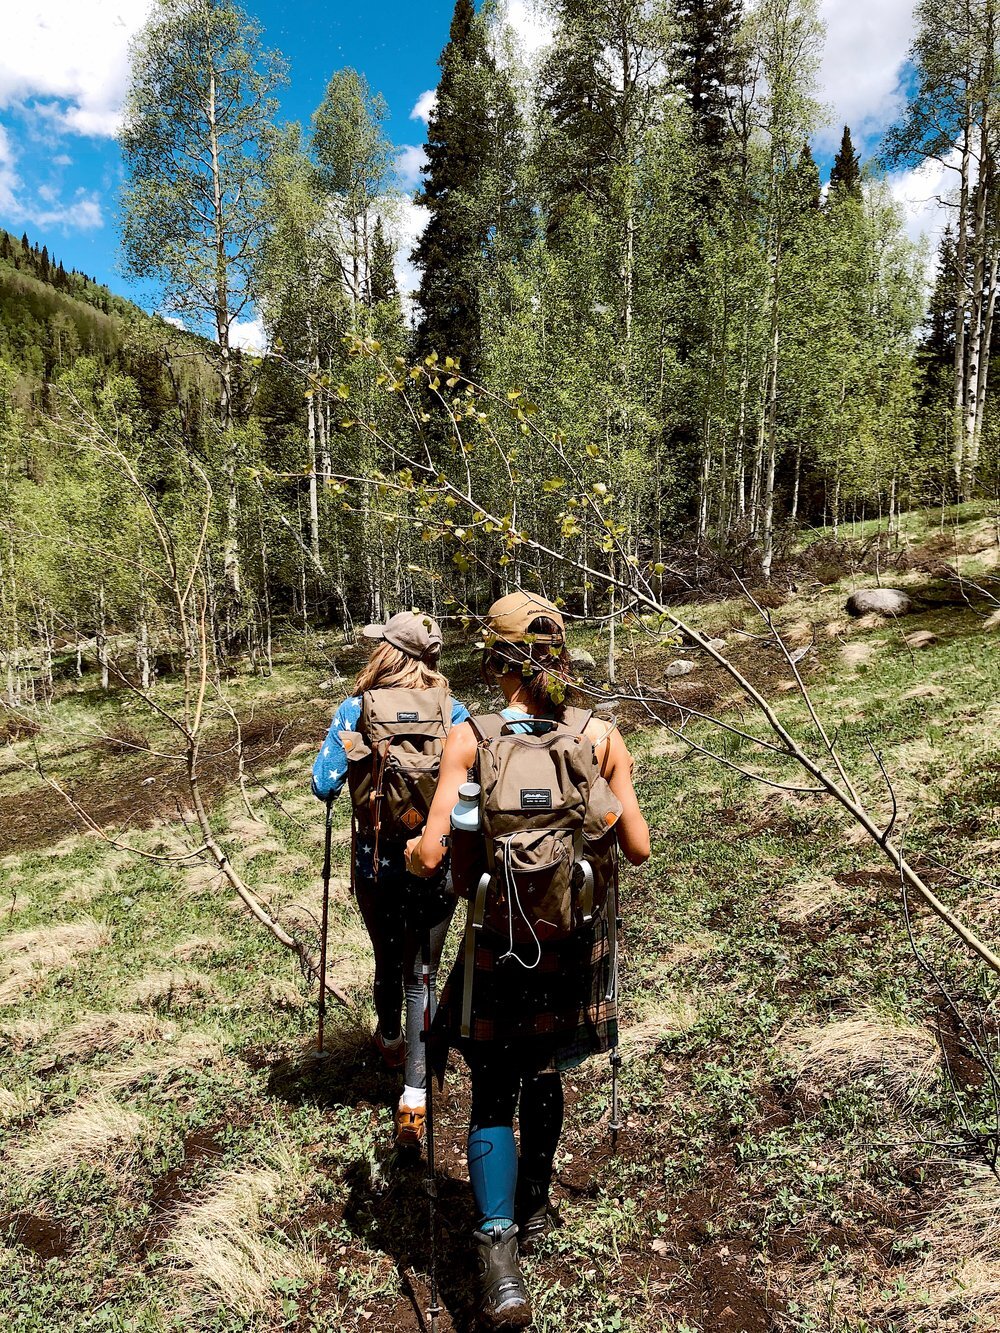
From my experience hiking boots were not only a lot more comfortable but supported my ankles and feet a lot more. I recommend these two boots if you are in the market for one: Eddie Bauer Cairn Mid boots and Bora Mid GTX Hiking Boot.
TO PREVENT BLISTERS:
I highly recommend following these steps. BEFORE putting on your hiking socks, CUT YOUR TOE NAILS FIRST!! Then, put a piece of gauze or cotton round on your heel (this is where I’m prone to getting blisters) and tape it well using Goat tape. Then apply a THICK layer of Hike Gooall over your feet- focusing on your heel area (if you didn’t tape that area up) and between toes and the outer edges of your big and little toe. This thick paste will help you from getting blisters! Then put your hiking boot on and tie your laces tightly. This will keep your feet from moving around in the shoe which is what causes them to blister in the first place. If you follow these steps you could go on 10-15 mile hike and not come home to painful bloody blisters which suck!!
CLOTHING:
If you’re starting your hike early, you’ll feel the need to layer up to beat the cold- however you DO warm up quick once you’re on the trail for about 15-30 minutes. So I suggest wearing layers so you can peel them off as you go. Depending on how cold it is, you could start off wearing a long sleeve shirt + fleece + puffer jacket and pack your wind jacket in your backpack (in case it gets windy at the top) and just peel the layers off as you go. Better over prepared than sorry!
HIKING POLES:
Are they necessary? If your hike is challenging and you’re going uphill for the majority of it- chances are your climb back down is going to affect your knees. Hiking poles help distribute the pressure on your knees. It is your preference if you want to use just 1 or both poles (i’ve done both). They are also great for balance when you are walking on rocks and uneven terrain.
TOILET KIT:
Pack a zip lock baggie with hand sanitizer and pack of tissue. Used tissues go back into the ziplock baggie and you leave no trace behind!


